ADDICTIVE Chocolate Peanut Butter Cups

Sometimes, I’m just craving chocolate. I love chocolate. And I love Reese’s Peanut Butter Cups, but I sort of wanted to make them at home.

Hence, Addictive Chocolate Peanut Butter Cups, adapted from the New York Times.

You might think you need to buy these to get them, but it’s just as satisfying to make them. Plus, then it won’t have unhealthy ingredients, like corn syrup or Red 40. 😷

It’s easy. Basically all you have to do is coat muffin cups in chocolate, add peanut butter filling, and cover it in chocolate. And then wait a bit.

Go find something else to do while you wait (for what feels like a really long time), because it is going to be really hard to wait! Just like a watched pot never boils, a watched chocolate peanut butter cup never freezes. I went golfing for the like second time in my life, with my dad.

So let’s get started!

The only ingredients are:

  • 3/4 cup smooth peanut butter (you might need more; I had to use a bit more). I used natural peanut butter; I would say stick to that.
  • 9 ounces of chocolate. So a little more than a cup for those of you that live in the US, Liberia, or Burma.
  • Powdered sugar to taste. I used a 1/4 cup. You can use more or less; I like things sweet.
  • Any other flavors you want to add. A layer of jam, some spices, a different chocolate or nut butter, pretzels, some browned butter, anything you want.

Step 1:

Line a mini muffin pan with mini muffin cups. Or use a baking sheet. It doesn’t really make a difference. Microwave about five ounces of chocolate (1/4 cup plus a bit more) until smooth, stirring in between bursts. Give each muffin cup a teaspoon or so of chocolate, then use an offset spatula, spoon, or pastry brush to brush the chocolate up the sides of the muffin cups and on the bottom. Wait a little bit for it to solidify.

Step 2:

Mix together the peanut butter and sugar in a bowl until combined. Scoop it into a piping bag or regular paper bag and cut off a bit of the edge. Pipe the peanut butter into the muffin cups, allowing 2 or 3 teaspoons of peanut butter for each cup. You can also spoon it in.

Step 3:

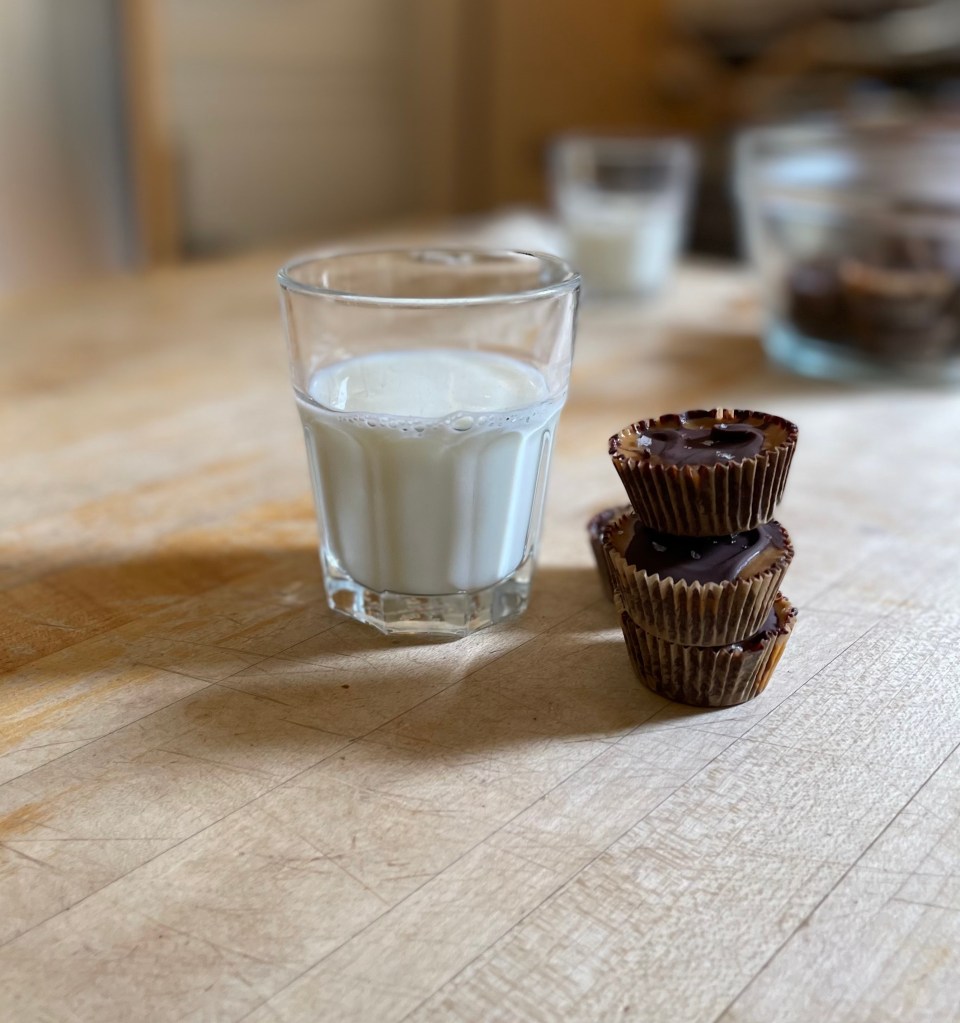
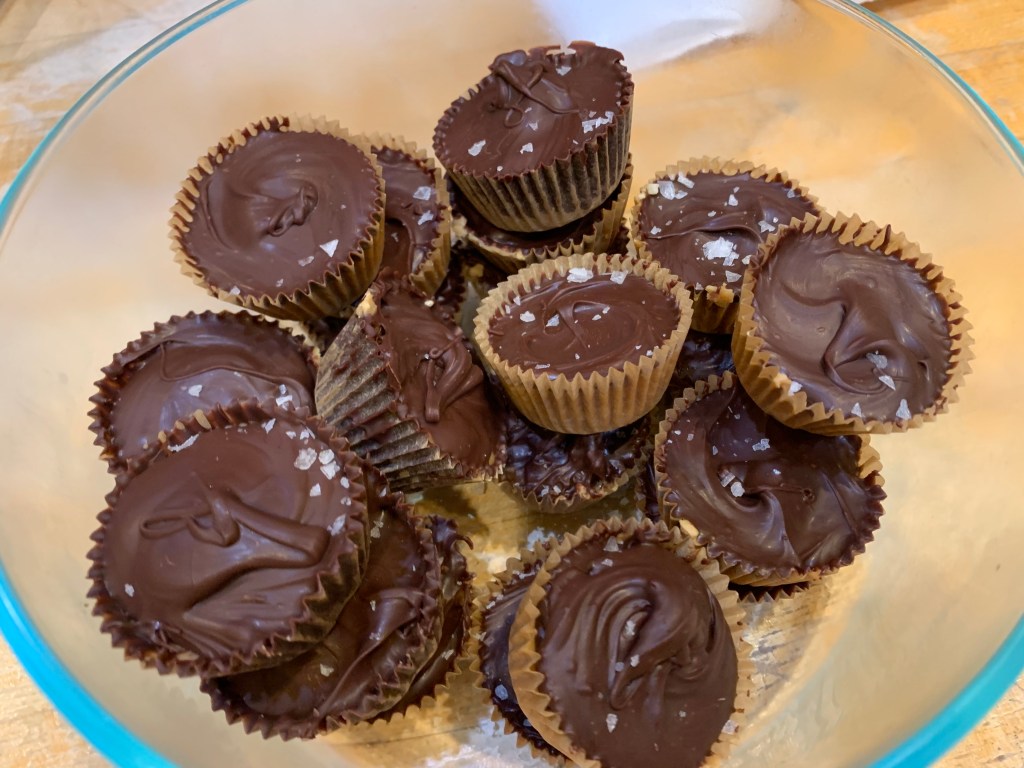
Melt the remaining chocolate like you did before, then spoon it on top of the peanut butter. Smooth it down if necessary and freeze for about 25 minutes. When they’re ready, sprinkle with flaky sea salt and eat one or seven with milk. Store in the fridge.

They don’t have to be perfect. As long as they taste good, they’re fine.

Edit: Today I just made them with a slightly different recipe. If your peanut butter is too soft and the chocolate is too hard, try adding some shredded coconut and browned butter (about 4 tablespoons) to it. Continue as directed. Also to fix the chocolate, try spreading it a bit more evenly and don’t be shy!

My 2020-2021 School Year Experience

This semester was a pretty abnormal one. We started in Connected Learning on Zoom, then we made our way into school. I go to a private school, so we came back earlier, although some of my classmates stayed online for a while. We had to wear masks (and I couldn’t wear my favorite neck gaiter) and we tried and generally failed to stay 6 feet apart.

In fourth grade, we get privileges like lockers, choosing our own seats in the cafeteria, but we didn’t get to do that this year. No one had lockers, and we ate lunch at our desks (which I sort of liked because I could take up a lot more space).

But the year didn’t come without its perks. I got to explore more hobbies and I had a LOT of free time because we had less homework. I also learned a lot of things I probably wouldn’t learn in school, like facts about the world. And I got to go all around SF and I found a lot of cool places I am definitely going to go back to. I also started this blog! 🙂

How to create a blog

When I chose to start a blog, it was sort of an out of the blue decision. But it kind of made sense – I really like to write, and I like to design things. I also have written an essay about bad websites. It’s true! Bad websites bother me a lot.

I was determined not to create a blog that made people feel that way.

And to help you create your own blog, if you’re interested, I have made a step by step list and a rating of online platforms for you! You’re welcome 🙂

So the first step is to figure out what you want to do with your blog.

You can find some really good worksheets for this online – I used this. You’re trying to find the pillars of your blog – ideally three. For example, mine are Hotspots, How Tos, and Opinion. You can always add more categories.

Also think about what you are giving people when they read this. Needless to say, your blog should not be a waste of time!

Next, figure out what platform you want to use.

I’d recommend looking at other blogs and finding out what they used. Then find out which theme you want to use on that platform – I used Nucleare on WordPress. Don’t jump in right away, though: make sure you want to use that theme before you click on it. I have rated all the platforms I looked at below.

After that, you’ll want to find a name for your blog, and then a domain that you want to use.

This part was probably the most challenging for me, but if I can do it, then you can too!

If you want, too, you can make a logo. This might sound like a daunting task, but don’t worry: there are some apps and websites that design a logo for you, like Fiverr.

Then, you can publish your blog! Happy blogging!

1. WordPress

WordPress is the platform I chose to use. Its wide variety of templates is more than a little overwhelming, and it took me a while to figure out which one to use. You can browse them by the type of website you have, and also by the templates’ designs, which is really helpful. A lot of online tutorials for WordPress exist, and it’s not too hard to navigate.

2. Squarespace

I like Squarespace, and I know a lot of other people do, too. I know a lot of people use it, and it’s not hard to see why. All you have to do is, as it says on their website, choose a template, get a free domain, add text and photos, customize, and publish!

3. Wix

Wix is more or less like WordPress, except I found it really complicated. Once you start editing, there are just so many links and arrows and buttons…whatever. It might be just that I get overwhelmed with things like this really easily.